Easy DIY Wallpaper Art or Headboard
There’s nothing I love more than an easy DIY project that packs a big punch, and this wallpaper art in my music studio is a perfect example!
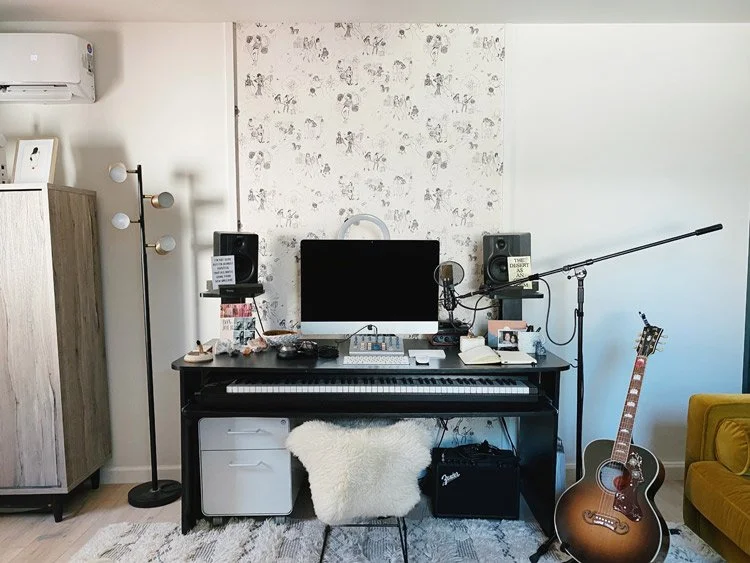
I installed this wallpaper art as a feature wall behind my music desk to ground it in the space, but you could also use this exact technique to make a really easy DIY wallpaper headboard (which I kind of want to do in another room now!)
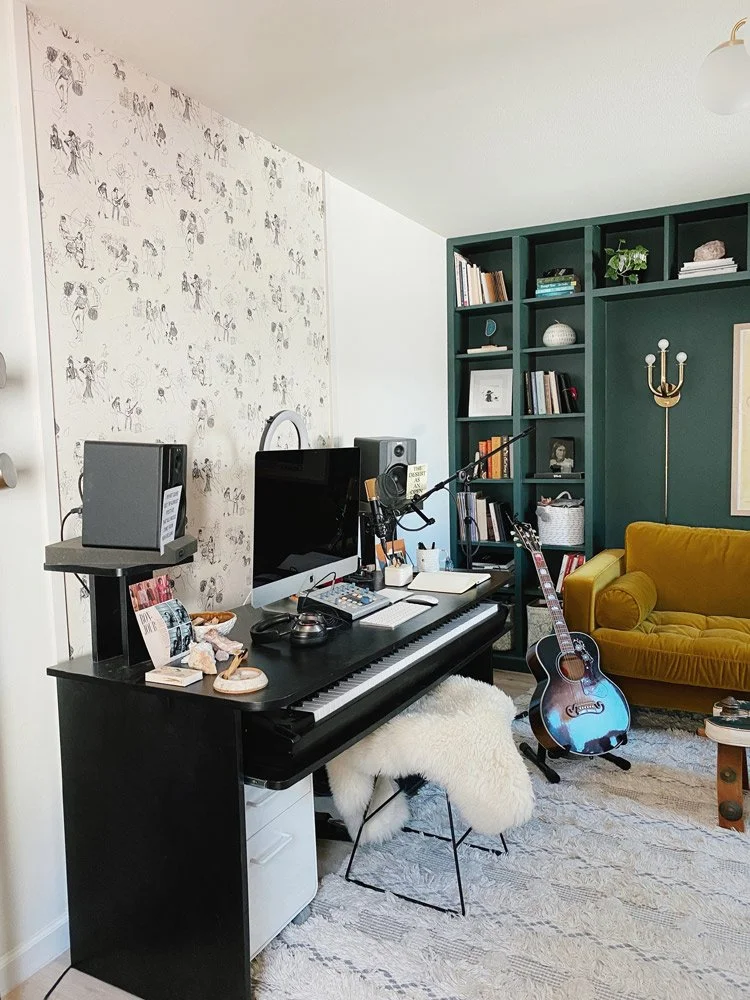
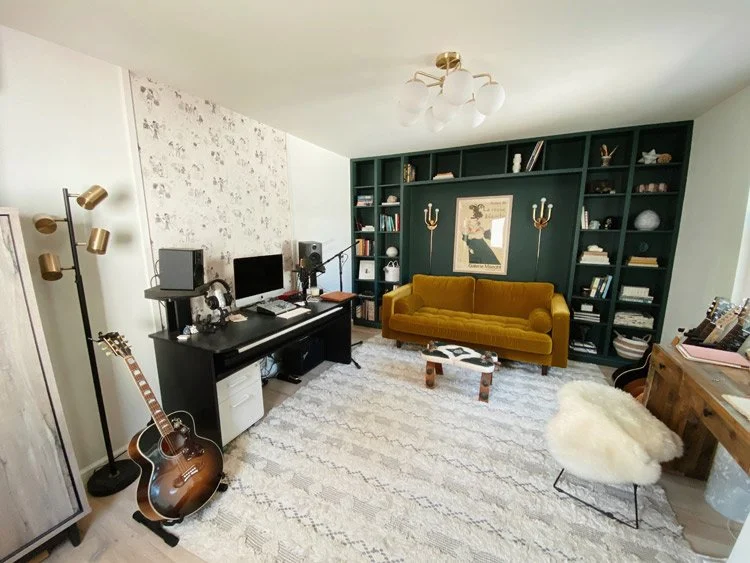
You may have seen my DIY Built-In Bookcase IKEA Hack post a few months back, and after completing that project and being super happy with how it turned out I was super motivated to design the rest of my office.
Because the DIY built-in shelves are the main feature of the room and has such a strong visual presence, I didn’t want to take away from it too much.
I weighed the idea of wallpapering the remaining three walls of the office, but it ultimately just ended up looking too busy every time I tried photoshopping it, so I decided to create a floor-to-ceiling wallpaper art feature instead.

This wallpaper feature wall was one of the quickest and easiest DIY projects I’ve done in this house, but it makes a huge impact and I really love how it turned out.
Here are the steps I followed to create it!
DIY Wallpaper Art or Headboard
Tools
Circular saw (to cut boards to right height)
Level
Tape Measure
Nail gun (I have this one)
Electric Sander or sandpaper (I like this one because it’s not too heavy for me)
Materials
2, 1-in x 2-in x 8 ft poplar boards (my ceilings are only 8 feet, but depending on how high your ceilings are you may need 10 ft long boards to span the length of the entire wall floor-to-ceiling)
Wallpaper of choice (this is the one I used)
Wallpaper paste, if you’re not using pre-pasted or peel-and-stick
Wallpaper paste brush
Wood filler
Paint for poplar boards (I just used the same white paint color as our walls for a minimalist look)
Instructions:
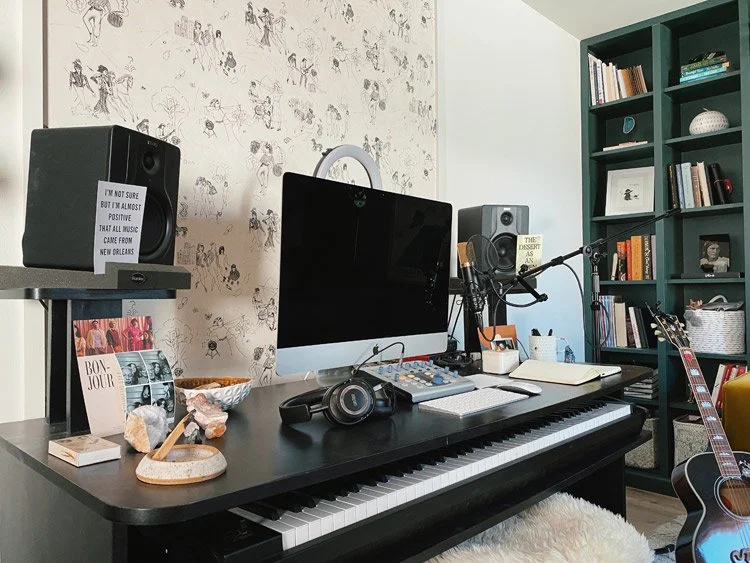
1. Pick your wallpaper! Normally I would have ordered samples of a few different papers, but I knew immediately when I found this Schumacher Toile de Femmes print that it was perfect for the space. I ordered a sample and photographed it next to my other decor to make sure I liked it, then went ahead and ordered a few yards (after step 2…)

2. Decide how wide your wallpaper art or headboard is going to be. I got super lucky on this front, because my wallpaper yardage already came cut to about 56 inches wide, which ended up being a perfect width for a feature behind my desk. Some wallpaper rolls are only 27 inches wide though, so in that case I would’ve had to double or triple them horizontally. Once you determine your width you can go ahead and order however many yards or rolls you need.
3. Depending on what kind of wallpaper you get, you may need to buy wallpaper paste and a wallpaper paste brush. Mine was not the pre-pasted or peel and stick kind unfortunately, so we had to do this extra step. It honestly wasn’t terribly difficult, but definitely required more than one person to make sure the paper went on the wall smoothly and evenly after we pasted the back side of it flat on the floor.

4. Ideally with the help of another person, position and hang your wallpaper in place.
5. If you’re framing your wallpaper headboard or art with poplar boards like I did, you probably want to paint them before securing them to the wall so you don’t risk getting paint on your walls (or your beautiful wallpaper!). Paint both boards on the 3 sides that will be showing and let dry.
6. Once dry, secure your poplar boards on either side of the wallpaper. We kept it simple and just did this with a nail gun.
7. Fill in any nail holes with wood filler, then paint over if necessary once dry.

I immediately loved this print because it features girls dressed in cool outfits, dogs, guitars, and archery (I’m a Sagittarius). Kind of felt meant to be!
That’s it! it’s a super easy DIY that could definitely be done in one day, and pretty cost-effective depending on what kind of wallpaper you choose.
Adding this wallpaper feature wall made a huge difference in my space and really helped to anchor my music desk and break up a big boring white space in the room without feeling too busy or heavy.


Have you ever used wallpaper as art, a headboard, or something other than a covering for all four walls??
