DIY Waterfall Butcher Block Washer & Dryer Counter
Like many of us, one of the major things that’s bringing me a lot of joy right now is working on home projects. Kate here, and today I’m really excited to share this DIY laundry room project we just completed!
I’ve always swooned over waterfall butcher block countertops on Pinterest, and when we moved into a place without a washer and dryer I knew I wanted to somehow find a way to create a cool butcher block counter to house the machines.
This was one of the first big projects we wanted to tackle in our new place, and I’m so thrilled with how it turned out!
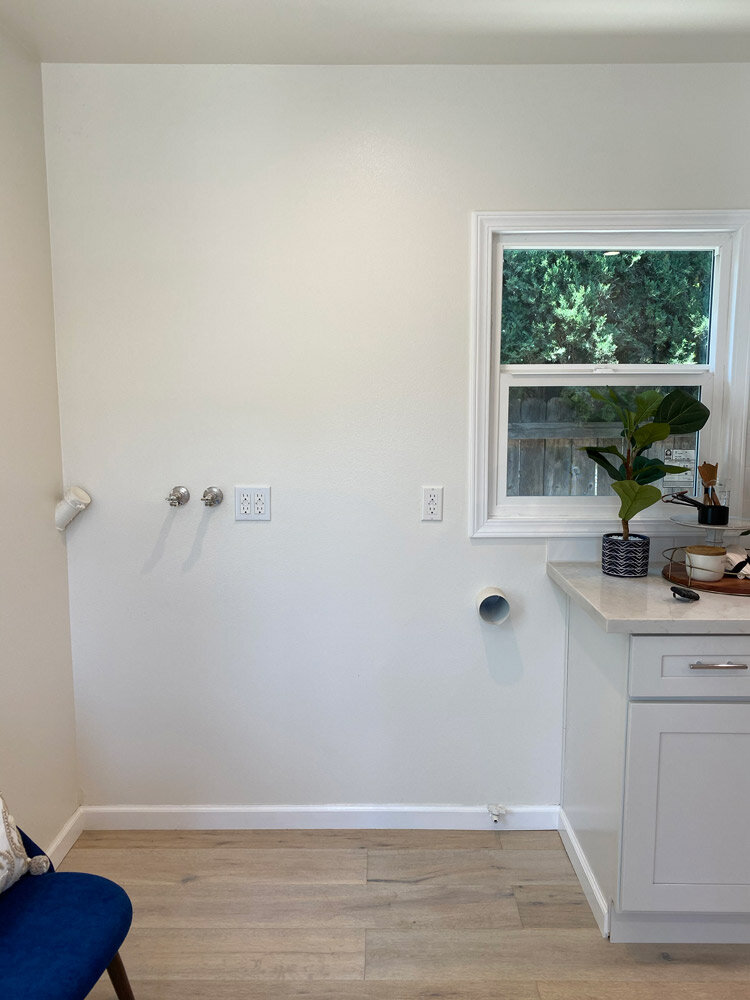
So you can see the space we had to work with, here’s a before pic of what the area with the washer and dryer hookups looked like when we moved in:
At first we thought maybe we’d do a stacked washer and dryer, but ultimately we decided that having some extra countertop space would be crucial in a smaller house.
Initially, I had ordered counter depth machines that would more or less have been flush with the top of the kitchen counters and would have only extended a tiny bit beyond the cabinets. Only problem was, the voltage of the electrical in this area isn’t set up to accommodate an electric dryer (something I should have checked before ordering but didn’t..oops).
So we had to either a) totally change out the electrical (which felt like an expensive pain) or b) choose a different set of machines. Turns out they don’t make many small or counter depth gas dryers, so we ended up with something relatively standard size.
Here’s a couple of before pics of how the washer and dryer looked when we first ordered them:
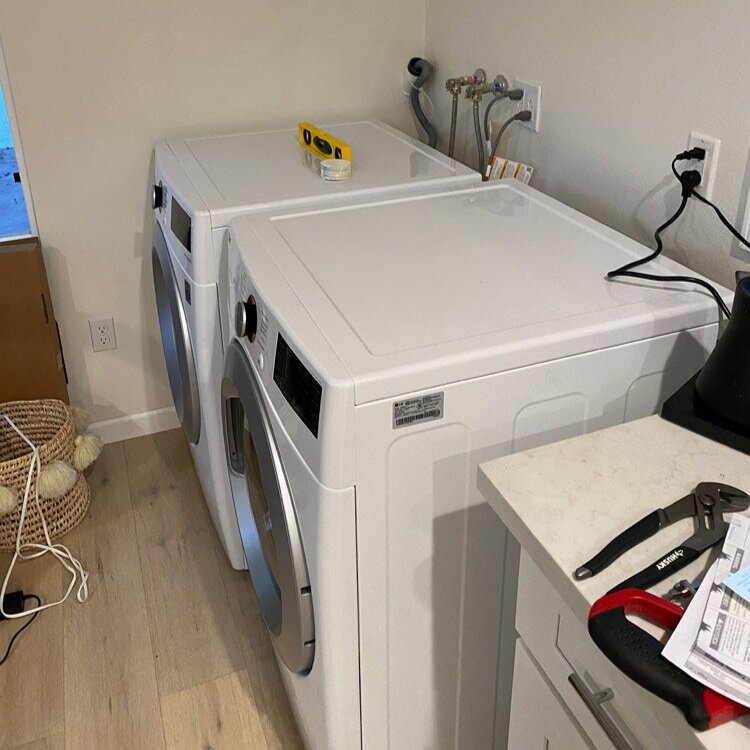
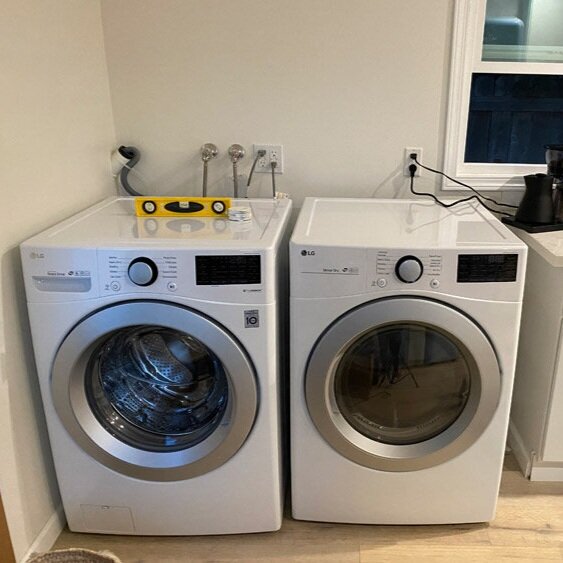
Basically, they just looked…blah. And kind of gigantic in the space. We both felt totally OK with having to put the laundry room in the kitchen, because it’s kind of just a fact of life in smaller spaces, but we really wanted it to feel like its own cool zone with a separate vibe.
I also have a major thing about visible cords and pipes etc, so I knew I needed to find a countertop solution that would cover not only the washer and dryer, but the pipes and cords above as well.
Here was an initial sketch of the general idea:
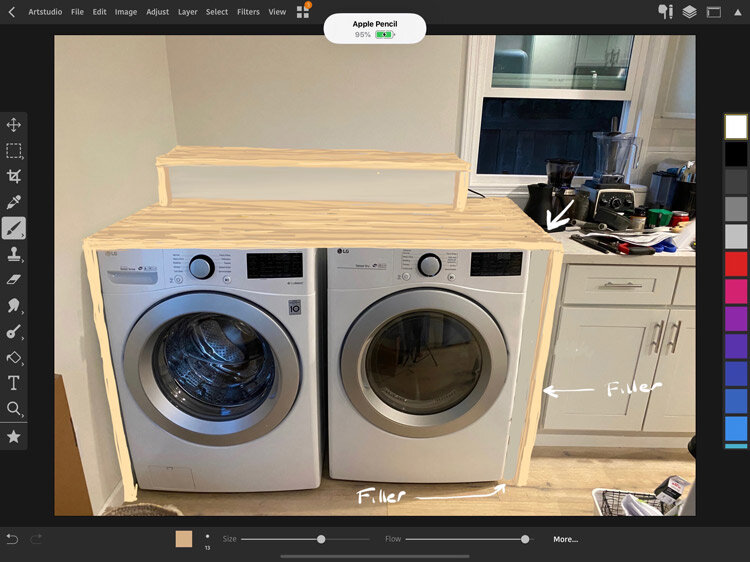
We went back and forth on whether or not this whole washer and dryer countertop should run all the way into the existing kitchen countertops (which is why you see the “filler” possibility in that sketch), but ultimately we felt like it might overwhelm the space too much and decided to make it its own freestanding setup.
Luckily for us, my dad is an incredible craftsman and brilliant at building things like this, so he knew exactly how to approach the project. With some (major) help from him, we put together a plan to build out the space.
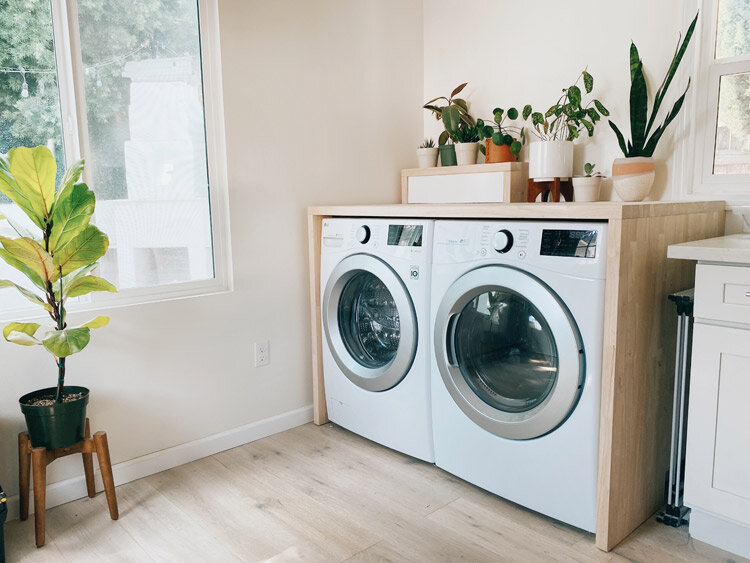
Here’s how we ultimately made it happen!
DIY Waterfall Butcher Block Washer & Dryer Countertop

Supplies:
2, butcher block countertop slabs (we used these ones, which measure 39 x 74”)
1, 1-in x 12-in x 8-ft Whitewood Board (or any spare scrap wood you can use for the front of the ‘bread box’ part that covers the pipes and cords)
6, 90 degree bent plates/corner braces (ours were about 6” long on each leg, 1 1/2” wide and 1/8” or less thick)
6, stamped light gauge 90 degree angle connectors (for the ‘bread box’ cord and pipe cover part)
6, mending plates (depending on if you need them, see step 5)
Felt furniture feet (we used 10, 5 on each side panel)
about 50 3/4” Metal to wood screws
White paint
Circular Saw (such as this) or Jig Saw (like this)
Electric Sander (I have this one and love it cause it’s not too heavy!)
Drill
*This post contains affiliate links*
Instructions:
1. Measure, measure, measure.
It goes without saying that the amount of butcher block you’ll need for your waterfall countertop is going to vary greatly depending on the size of your washer and dryer.
Make sure you measure over and over again before you cut any of the wood, and make sure you account for a little extra space for the L brackets that will eventually hold the three pieces together (we positioned the sides of the counter about 3/8 of an inch away from the sides of the machines to accomplish this, and made sure we accounted for that when cutting the top piece of our counter to size).
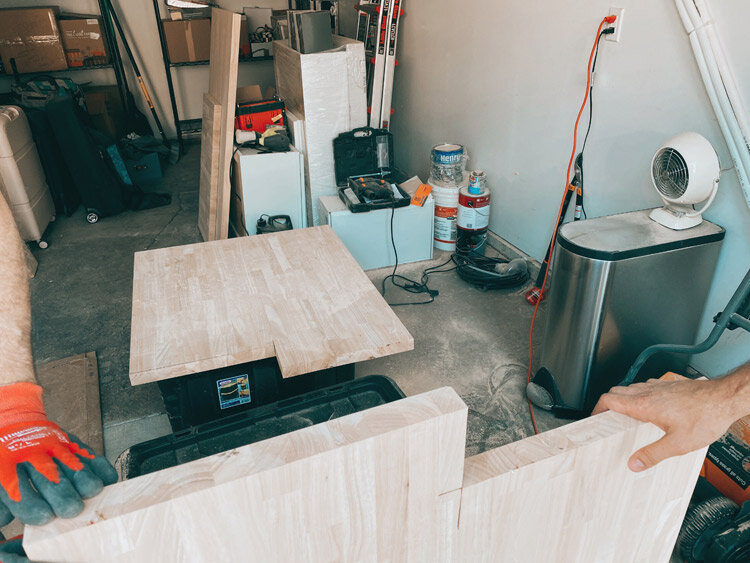
trying out different depths for the counter top with a scrap piece
This is also the part of the process where you’ll want to make a final decision about how deep you want your counter to be. This took a lot of testing for us, because we wanted to enclose the washer and dryer well but didn’t want to try to completely cover them (the counter would’ve been insanely deep if we did). We ended up deciding to make the counter 32 1/2” deep.
2. Cut your top piece
Once you know your exact measurements, it’s time to cut the top piece!

we didn’t have a saw horse, so we just used these heavy duty tubs as a substitute!
Choose which side of the butcher block you want to be your “good side” (aka the top you’ll actually see) and then measure and mark the cut. We measured our depth of 32 1/2”, and then used some spare baseboard to draw a line down the entire length of the countertop.
Use a circle saw to cut the top to the right size, and then sand any rough spots or edges.

3. Determine and make any necessary cutouts
Our washer and dryer are tall enough that the butcher block on top was going to run into the window casing at one point, so we had to meticulously measure that little area and make a cutout in the countertop for it.
We also cut out a piece about 25” x 4” on the left hand side of the countertop to accommodate the ugly pipes and electrical cords. This cut didn’t need to be totally perfect (which is why I did this part lol), because we would eventually be covering this cutout and the pipes behind it with what we called the ‘bread box’ piece that goes on top of the counter.

Cutting out space for the pipes and cords behind the washer
4. Cut your waterfall side panels
We decided to just do a 90 degree joint for the waterfall to keep it simple (versus doing a 45 degree miter joint), so the height of the side panels just basically needed to be the measurement from the floor to the underside of the top piece. We did also factor in about 1/8” for small felt furniture feet that we planned to put on the bottom of the side panels.
Because our washer and dryer are so tall, we actually didn’t have enough butcher block in the second full slab to do two totally solid waterfall side panels. Luckily, my dad figured out that each panel really only needed to have the necessary height in the front half, and that the back half (which is hidden anyway) could be shorter if we just supported it with an add-on ‘foot.’ This allowed the two side panels to essentially “share” the second piece of butcher block. See below for how we cut them:
the longer sides of each panel are what ended up going in the front
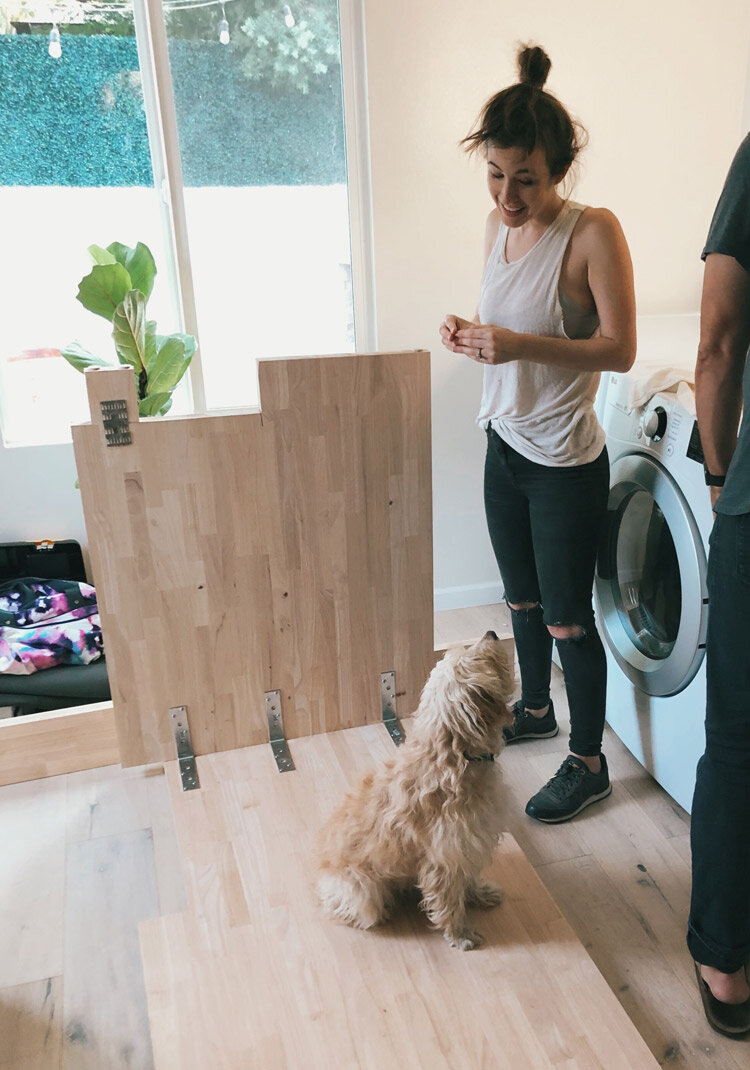
5. Assemble your countertop as closely as you can to your laundry area
This thing ended up being heavy AF, so I would definitely recommend assembling it as close to your washer and dryer setup as possible, so as to easily slide it over the top of the machines.
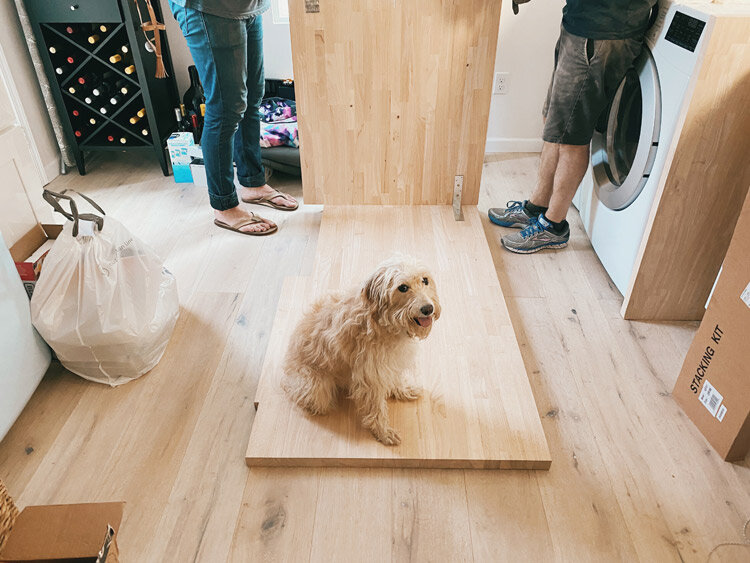
does anyone else’s dog sit on literally whatever it is that you’re working on at the moment??
If like me, you didn’t have enough butcher block to make two solid side panels, attach the ‘feet’ to the shorter side of the panels with mending plates before you attach them to the counter top piece.
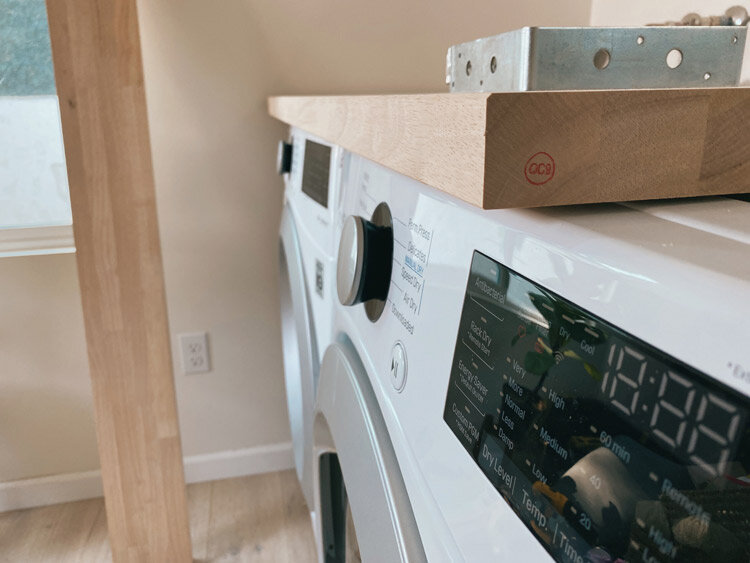
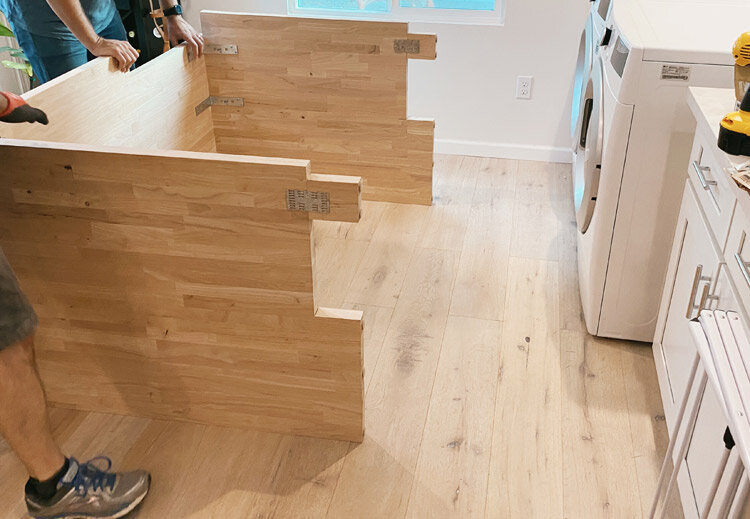
We started by placing the top piece upside down and laying a thin line of wood glue along one edge. One of us made sure the pieces were correctly lined up at the bottom while the other held the side piece in place for a few minutes to set. If you couldn’t already tell, this is most definitely a team project and not a solo venture.
Then, we reinforced the whole thing by attaching 3 of the L brackets with a drill and some metal to wood screws.
Repeat with the other side panel.
see top left for the ‘feet’ we put on the shorter end of the side panels
Attach evenly spaced felt furniture feet to the bottom of each side panel.
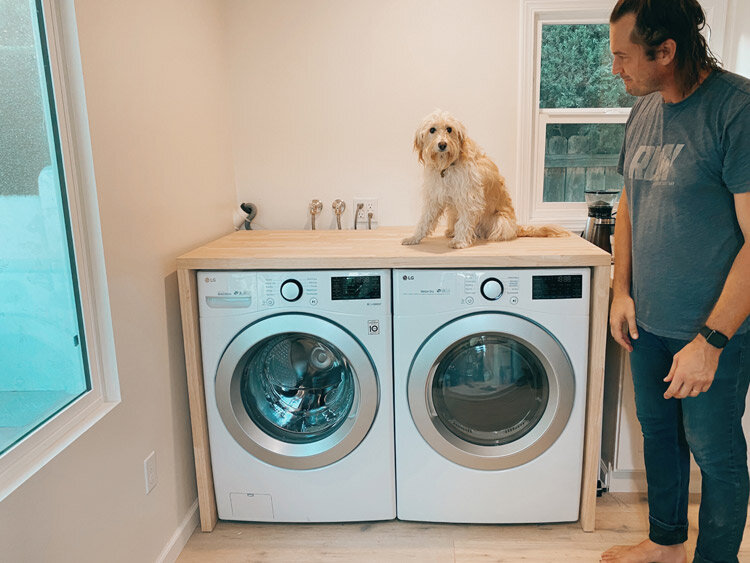
6. Turn it right side up and slide it over your machines
Definitely do this as a team, as butcher block countertop is VERY heavy. The great news about the felt furniture feet is that they make it super easy to slide the whole contraption over your washer and dryer once it’s right side up.
And just like that the hardest part is DONE!
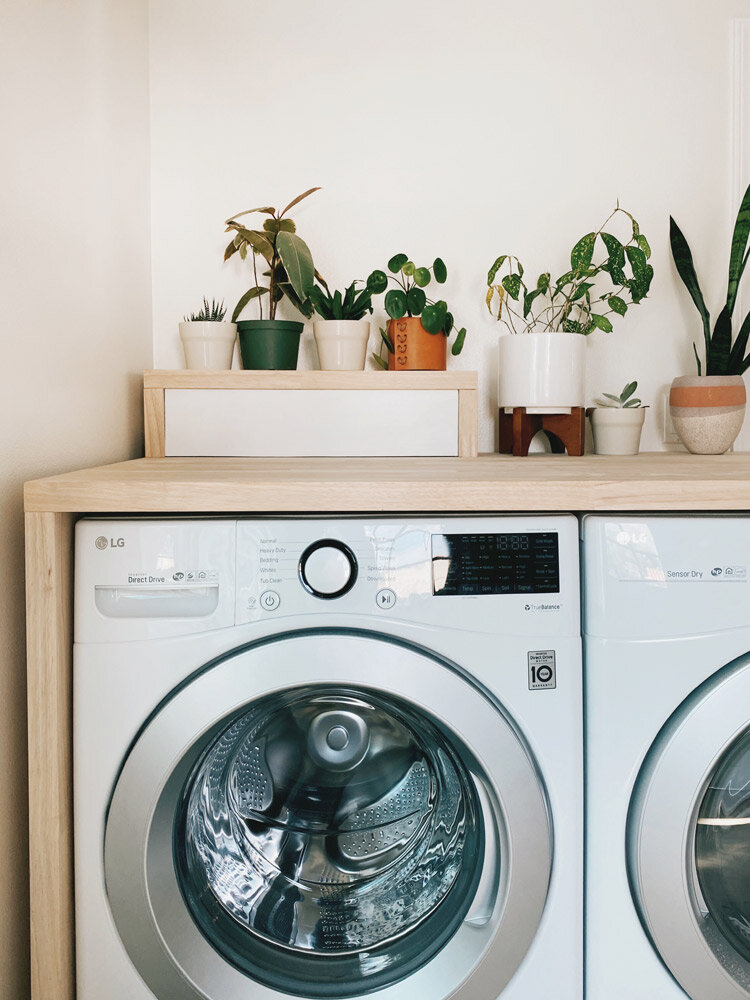
7. Make your ‘bread box’ cord and pipe cover
This part was a breeze compared to the big contraption, and we basically just mirrored the waterfall look with butcher block on 3 sides and a whitewood board panel that we painted white facing the front.

we called the piece covering the pipes and cords in the back left the ‘bread box’ part
Just measure out exactly how much space you want to cover, then cut your panels to the appropriate size.
Assemble the butcher block pieces upside down, secure with brackets, then paint your front panel white (or whatever color!) and place it at the desired position. We recessed ours about 1/2” to get a bit of a shadow line. Secure the front panel with brackets, flip the whole thing right side up, and slide it over those ugly pipes and cords!
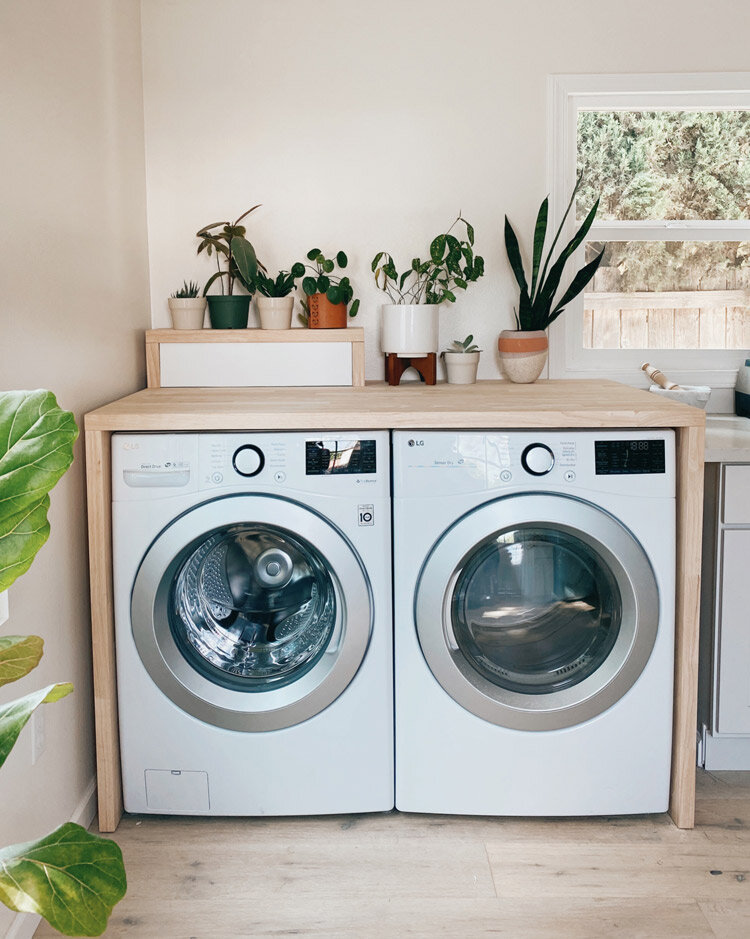
And that’s it!
It takes a bit of planning and a lot of measuring, but this was a perfect project to complete start to finish in one weekend. It’s also a TOTAL game changer in terms of how the space looks.
Here’s another link to the wood we used for this project:

In-Depth video walkthrough:
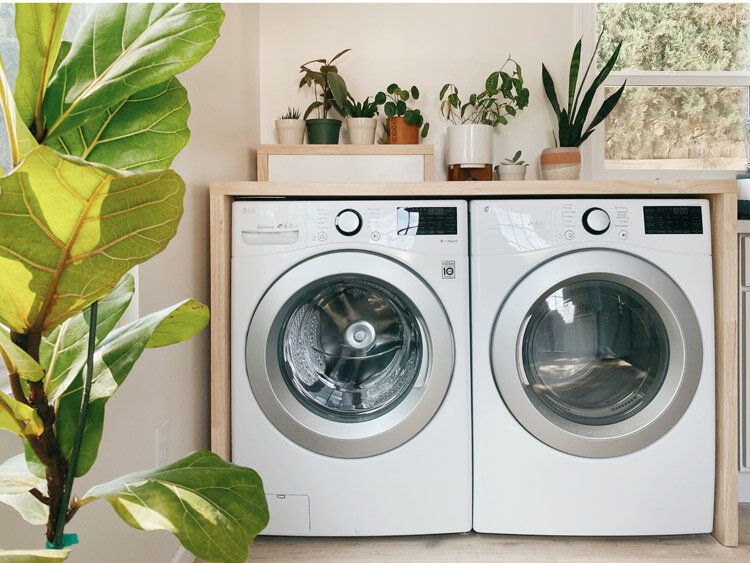

I’m SO excited about how this project came together and I’m actually looking forward to doing laundry now!!
Have you guys been doing any fun house projects during quarantine?? I can’t wait to share more soon!

and for good measure, one more bonus pic of Nola, a true Fixer Pupper…
